
Introduction: Understanding the Relationship Between Class and Raid Mechanics
Raiding in World of Warcraft is not just about raw damage, healing, or tanking—it’s about understanding how your class-specific abilities interact with complex raid mechanics. Every encounter presents unique challenges that require role-based adaptability, and failing to execute mechanics properly can mean the difference between a smooth kill and a frustrating wipe.
Some classes excel in high-mobility fights, while others shine in multi-target scenarios or burst-damage phases. Similarly, some classes bring powerful defensive cooldowns that trivialize certain mechanics, while others struggle due to limited mobility or defensive tools.
This guide will break down important raid mechanics based on class roles, covering tanks, healers, and DPS to help you optimize performance in any encounter.
1. The Tank’s Perspective: More Than Just a Meat Shield
Tanks are responsible for controlling the boss, managing threat, and mitigating incoming damage, but their role extends far beyond simply absorbing hits. Some encounters require tanks to handle mechanics unique to their class abilities, and the effectiveness of a tank can determine the pace and survivability of a raid.
A. Threat Management and Positional Awareness
Tanks must ensure bosses stay under control, but in some fights, threat resets or boss transitions require advanced handling.
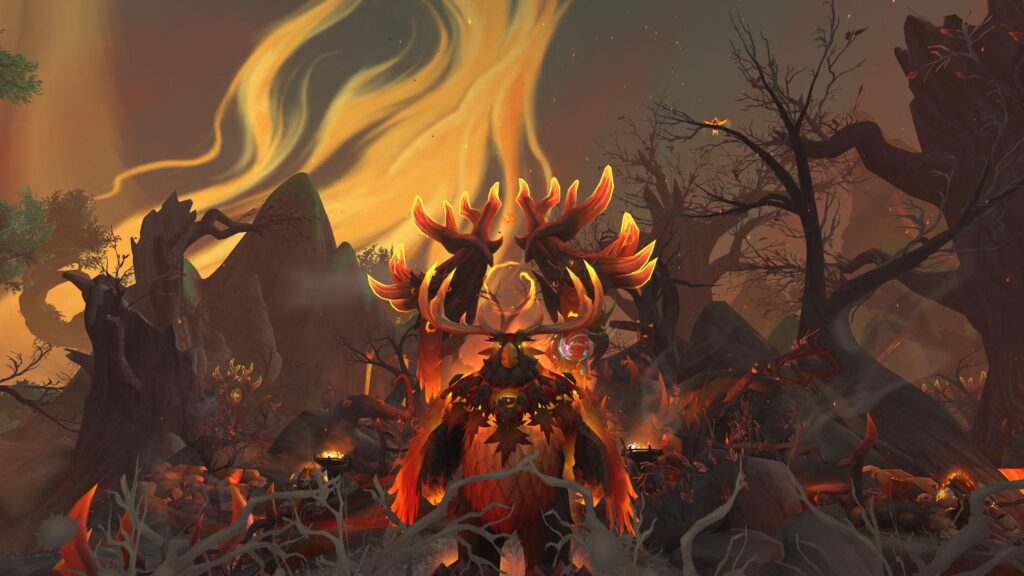
- Protection Paladins and Death Knights have strong snap aggro abilities, making them ideal for fights with frequent add spawns.
- Guardian Druids and Brewmaster Monks excel at AoE threat management, useful in multi-mob tanking scenarios.
- Vengeance Demon Hunters struggle against high-threat DPS classes early in fights, so they must maximize burst aggro with Infernal Strike and Sigils.
Failing to properly manage threat can lead to bosses switching targets, often wiping the group due to unpredictable movement and damage spikes.
B. Tank Swaps and Mitigating Debuff Mechanics
Many raid bosses require two tanks due to stacking debuffs or specific mechanics that force a taunt swap. Proper coordination is crucial to avoid unnecessary tank deaths.
- Blood Death Knights can self-sustain better than other tanks, making them ideal for fights with consistent tank damage.
- Protection Warriors and Paladins rely on shield-based mitigation, excelling against physical damage bosses.
- Brewmaster Monks’ Stagger mechanic allows them to absorb large bursts of damage over time, which is beneficial for fights with unpredictable tank hits.
A mistimed tank swap can result in one-shot deaths, making proper communication and cooldown coordination essential.
2. Healers: Keeping the Raid Alive Through Chaos
Healers are responsible for managing health pools, countering raid-wide damage, and ensuring tanks survive lethal hits. However, different healers shine in different situations, depending on the mechanics of each fight.
A. Raid-Wide Healing vs. Single-Target Focus
Some fights require continuous healing on the entire raid, while others demand intensive single-target healing on the tanks.
- Restoration Shamans and Holy Priests are excellent for AoE-heavy fights due to abilities like Chain Heal and Divine Hymn.
- Discipline Priests excel at preventive healing, making them valuable in fights where pre-shielding before damage spikes can reduce the burden on other healers.

- Holy Paladins and Mistweaver Monks specialize in strong single-target healing, making them ideal for tank-heavy encounters.
Using the wrong healing approach for the encounter can drain mana too quickly or leave players vulnerable during high-damage phases.
B. Healing Mechanics That Require Class-Specific Adjustments
Certain mechanics force healers to prioritize mobility, cleansing, or cooldown usage.
- Restoration Druids and Mistweavers excel in movement-heavy fights, since their HoTs and instant-cast heals keep players alive while repositioning.

- Discipline Priests struggle in fast-movement fights due to Penance and Power Word: Radiance requiring cast time, making positioning crucial.
- Restoration Shamans shine in stacked fights where Healing Rain and Totems provide maximum efficiency but struggle in fights where players must remain spread out.
Choosing the right healer composition for a specific raid fight ensures better survival and cooldown efficiency.
3. DPS: More Than Just Damage
While damage output is critical, DPS players must also handle boss mechanics, manage interrupts, and optimize target switching.
A. Mobility and Movement-Based Encounters
Certain fights require constant movement, which greatly impacts casters and ranged DPS.
- Mages and Warlocks struggle in movement-heavy fights, as casting interrupts their rotation. Using Shimmer and Demonic Circle can offset mobility issues.
- Hunters and Demon Hunters excel in mobile fights, as most of their abilities are instant-cast, allowing them to maintain DPS uptime while repositioning.
- Melee DPS like Rogues and Warriors suffer in encounters with frequent knockbacks, requiring them to position carefully to avoid losing uptime.
Proper talent selection and pre-planning movement can significantly improve damage output in mobility-based fights.
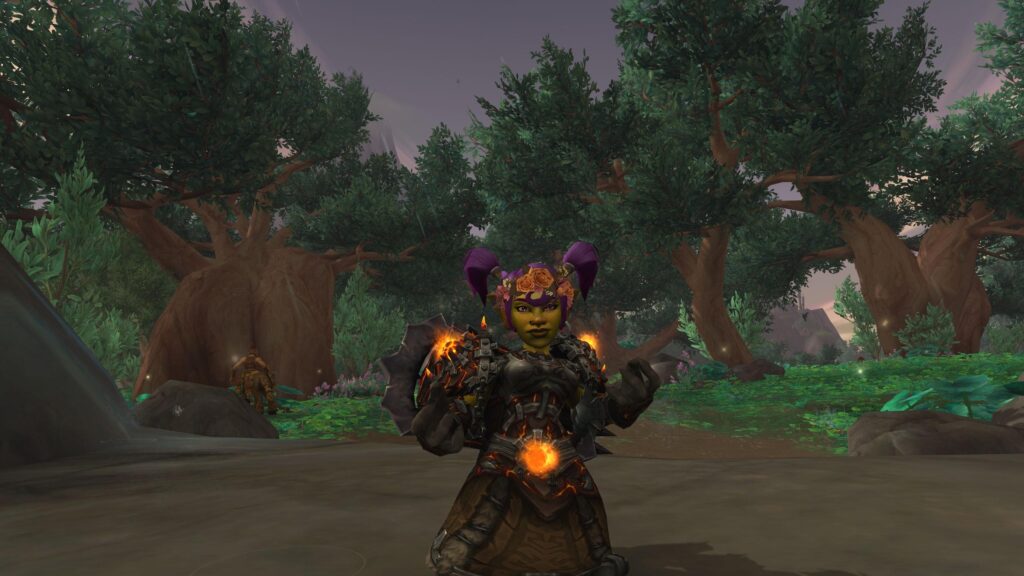
B. Multi-Target vs. Single-Target Optimization
Some fights require DPS players to constantly switch between priority targets, while others demand pure boss DPS.
- Shadow Priests and Affliction Warlocks thrive in multi-dot fights, where they can spread DoTs across multiple targets without losing efficiency.
- Frost Death Knights and Fury Warriors excel in cleave fights, as their abilities naturally hit multiple targets.
- Fire Mages and Subtlety Rogues struggle in multi-target fights, requiring careful cooldown management to maximize burst damage.
Choosing the right DPS strategy for target-switching fights vs. single-target fights ensures higher raid efficiency and faster boss kills.
4. Special Class Interactions That Change Raid Strategies
Some classes have unique abilities that significantly impact raid mechanics, giving teams advantages in certain encounters.
A. Immunities and Mechanics Cheese
Some fights feature mechanics that can be completely negated with class immunities, allowing players to bypass dangerous mechanics.
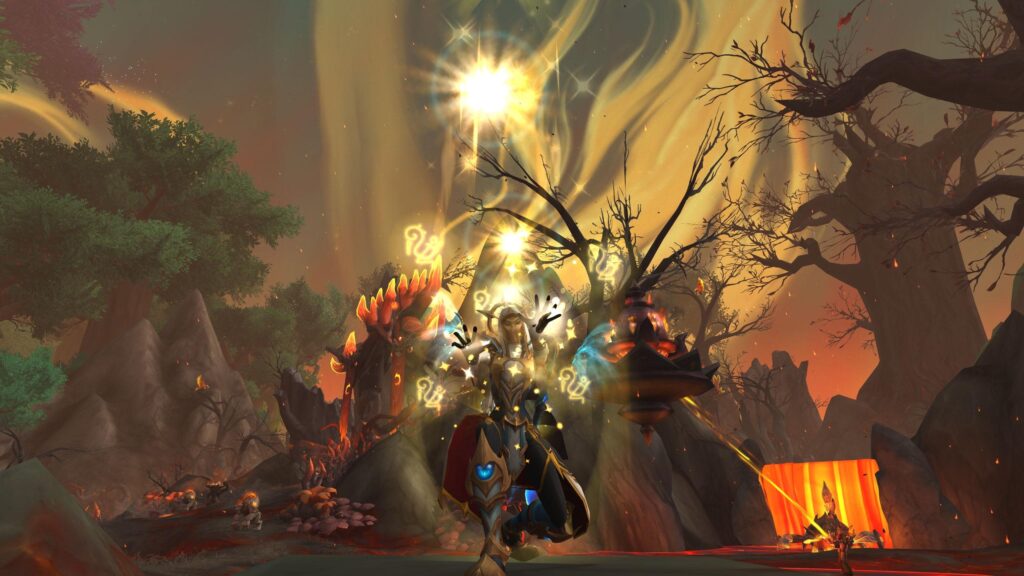
- Paladins’ Divine Shield can soak raid-wide mechanics, reducing the need for coordinated healing.
- Mages’ Ice Block lets them survive lethal mechanics that would otherwise wipe the raid.
- Hunters’ Aspect of the Turtle can mitigate major burst damage, allowing them to handle mechanics that would kill other classes.
Using immunities effectively can allow tighter DPS windows and fewer healer resources spent on emergencies.
B. Crowd Control and Add Management
Some encounters require strong CC and add control to keep the raid from being overwhelmed.
- Warlocks can Banish dangerous adds, preventing them from attacking.
- Druids can Hibernate dragonkin enemies, making them easier to handle.
- Death Knights can use Gorefiend’s Grasp to stack adds, allowing the raid to efficiently AoE them down.
Having the right crowd control tools for add-heavy fights reduces chaos and unnecessary raid damage.
5. The Role of Raid Awareness: Anticipating Mechanics Before They Happen
One of the biggest mistakes players make in raids is reacting too late to mechanics. Understanding how raid-wide abilities interact with your class kit allows you to anticipate when to move, when to use defensives, and when to focus on survival over damage.
A. Predicting Boss Abilities and Adjusting Playstyle
- Tanks should watch for predictable burst damage. If a boss has a known tank-buster attack, pre-activating mitigation abilities can prevent deaths.
- Healers must prepare for raid-wide AoE phases. If a fight has consistent pulsing damage, healers should pre-HoT or prepare cooldown rotations.
- DPS should anticipate movement phases. If a fight forces movement, classes with longer cast times should use instant abilities during transitions.

Anticipating mechanics before they happen allows for smoother execution and fewer deaths.
B. Using External Resources to Improve Raid Awareness
To master raid mechanics by class, players can use:
- Boss mods like Deadly Boss Mods (DBM) or BigWigs to track cooldowns and warnings.
- Weakauras to customize notifications for key abilities affecting their class role.
- Warcraft Logs to analyze performance and adjust cooldown timing.
Using these tools ensures better reaction times, helping players optimize their role in the raid encounter.
6. The Importance of Defensive Cooldowns and Self-Sustain
Many players focus solely on damage output or healing numbers without considering their own survivability. In progression raiding, the difference between a wipe and a kill often comes down to how well players use their defensive cooldowns.
A. The Best Defensive Strategies for Each Role
- Tanks: Rotate active mitigation and defensive cooldowns to prevent deaths from high burst damage abilities.
- Healers: Use personal defensive cooldowns (e.g., Dispersion, Barkskin, or Astral Shift) to reduce incoming damage and conserve mana.
- DPS: Don’t rely solely on healers—use self-sustain tools like Healthstones, potions, or class-based damage reductions.
Proper defensive usage ensures the raid survives dangerous mechanics without overburdening healers.
B. Common Mistakes Players Make with Defensives
- Using cooldowns too late. If you activate a defensive while already low on health, it may not be enough to prevent death.
- Wasting cooldowns on minor damage phases. Some players panic and use defensives too early, leaving them vulnerable for later mechanics.
- Ignoring self-healing or external cooldowns. Many classes have self-sustain tools, but players often forget to use them until it’s too late.
By mastering defensive cooldown timing, players improve their survivability and progression efficiency.
7. How Class Utility Can Make or Break a Raid Encounter
Class utility is often the deciding factor in high-end raiding. Some fights require specific class abilities, and bringing the right composition can determine success or failure.
A. Raid-Wide Buffs and Utility Abilities
- Priests (Power Infusion): Increases haste for a target, boosting overall raid DPS.
- Druids (Stampeding Roar): Provides movement speed for the raid, useful in high-mobility fights.
- Shamans (Bloodlust/Heroism): Essential for burn phases or DPS checks.
Raids that optimize utility usage often have a huge advantage in difficult fights.
B. The Impact of Battle Resurrections
Some encounters allow only a limited number of combat resurrections, so choosing the right moment to revive a fallen player can determine raid success.
- Druids (Rebirth) and Warlocks (Soulstone) provide instant resurrections, allowing key players to rejoin mid-fight.
- Death Knights (Raise Ally) provide an instant res but must be used carefully to avoid resurrecting players in dangerous locations.
Coordinating when and who to resurrect is crucial in high-end raiding.
8. How Raid Compositions Affect Mechanics Execution
While any group can clear content with enough skill, certain class combinations make some fights significantly easier. Understanding how raid composition affects mechanics is key to optimizing performance.
A. Melee-Heavy vs. Ranged-Heavy Compositions
- Melee-heavy groups struggle in fights with constant movement, as melee uptime is reduced when forced to reposition.
- Ranged-heavy groups suffer in spread mechanics, where individual movement is required (e.g., Sylvanas’ platform phases).
- Balanced raid compositions provide flexibility, ensuring that both melee and ranged mechanics are handled effectively.
B. Adjusting Strategy Based on Raid Setup
If a group is healer-heavy, players can be more aggressive with mechanics, relying on extra healing to survive.
If a raid lacks immunity classes, mechanics must be handled the intended way rather than skipped.
Adapting strategies based on group composition ensures smoother execution of mechanics.
Final Thoughts: The Key to Mastering Raid Mechanics by Class
Understanding how class abilities interact with mechanics is essential for any serious raider. Players who take time to study their role, optimize utility usage, and improve awareness will always perform better in high-end encounters.
✔ Tanks must master positioning, threat, and mitigation timing.
✔ Healers should anticipate raid-wide damage spikes and manage mana wisely.
✔ DPS need to balance movement, target switching, and defensive usage.
✔ Every player should understand how their class can contribute through utility, cooldowns, and mechanics execution.
By focusing on class strengths and adapting strategies for each fight, players can dramatically increase their raid success and efficiency.
Which class-specific mechanics have challenged you the most in WoW raids? Share your experiences below!



Leave a Reply